Floating with Mia Surakka
When it’s really hot, a floating hide is one of the most pleasant places to cool off.
In the stifling heat of midsummer, it’s hard to find a cool enough spot to shoot photos. One great solution is to immerse yourself up to your armpits in refreshing water and shoot from a floating hide! A floating hide can be used even in cooler weather, but in that case, it’s a good idea to wear insulating layers under a drysuit. In summer heat, those aren’t needed — sweatpants and a shirt are enough.
Keep your drysuit dry
It’s important to take care of the drysuit so it doesn’t get punctured. For that reason, you shouldn’t walk around in it without shoes. Crocs work well and should be secured, for example with duct tape, so they don’t get stuck in a potentially muddy bottom. Don’t forget to zip the suit properly — and double-check it. It’s an unpleasant surprise if water starts seeping into the suit through a poorly closed zipper.
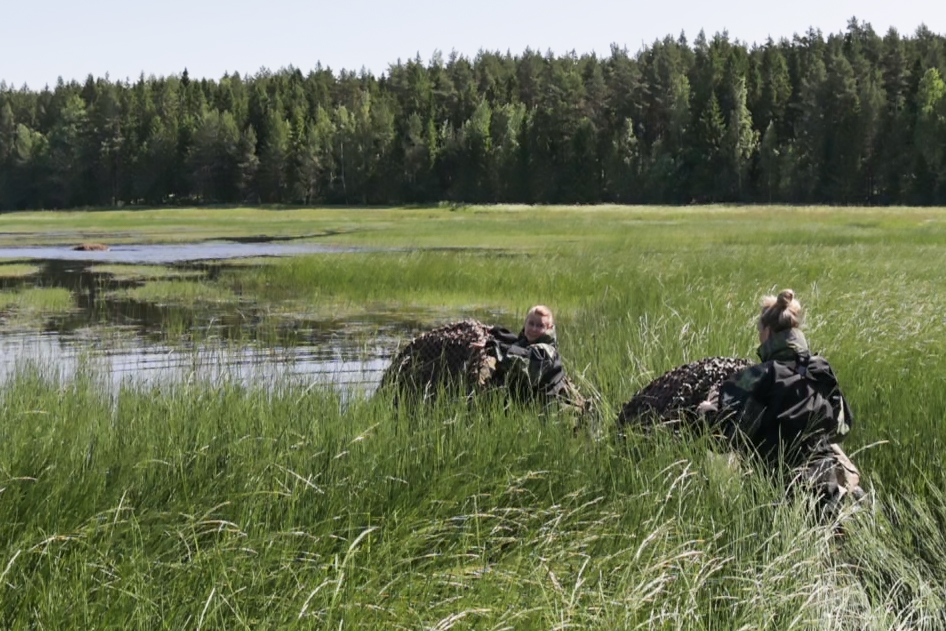
Choose your entry point carefully
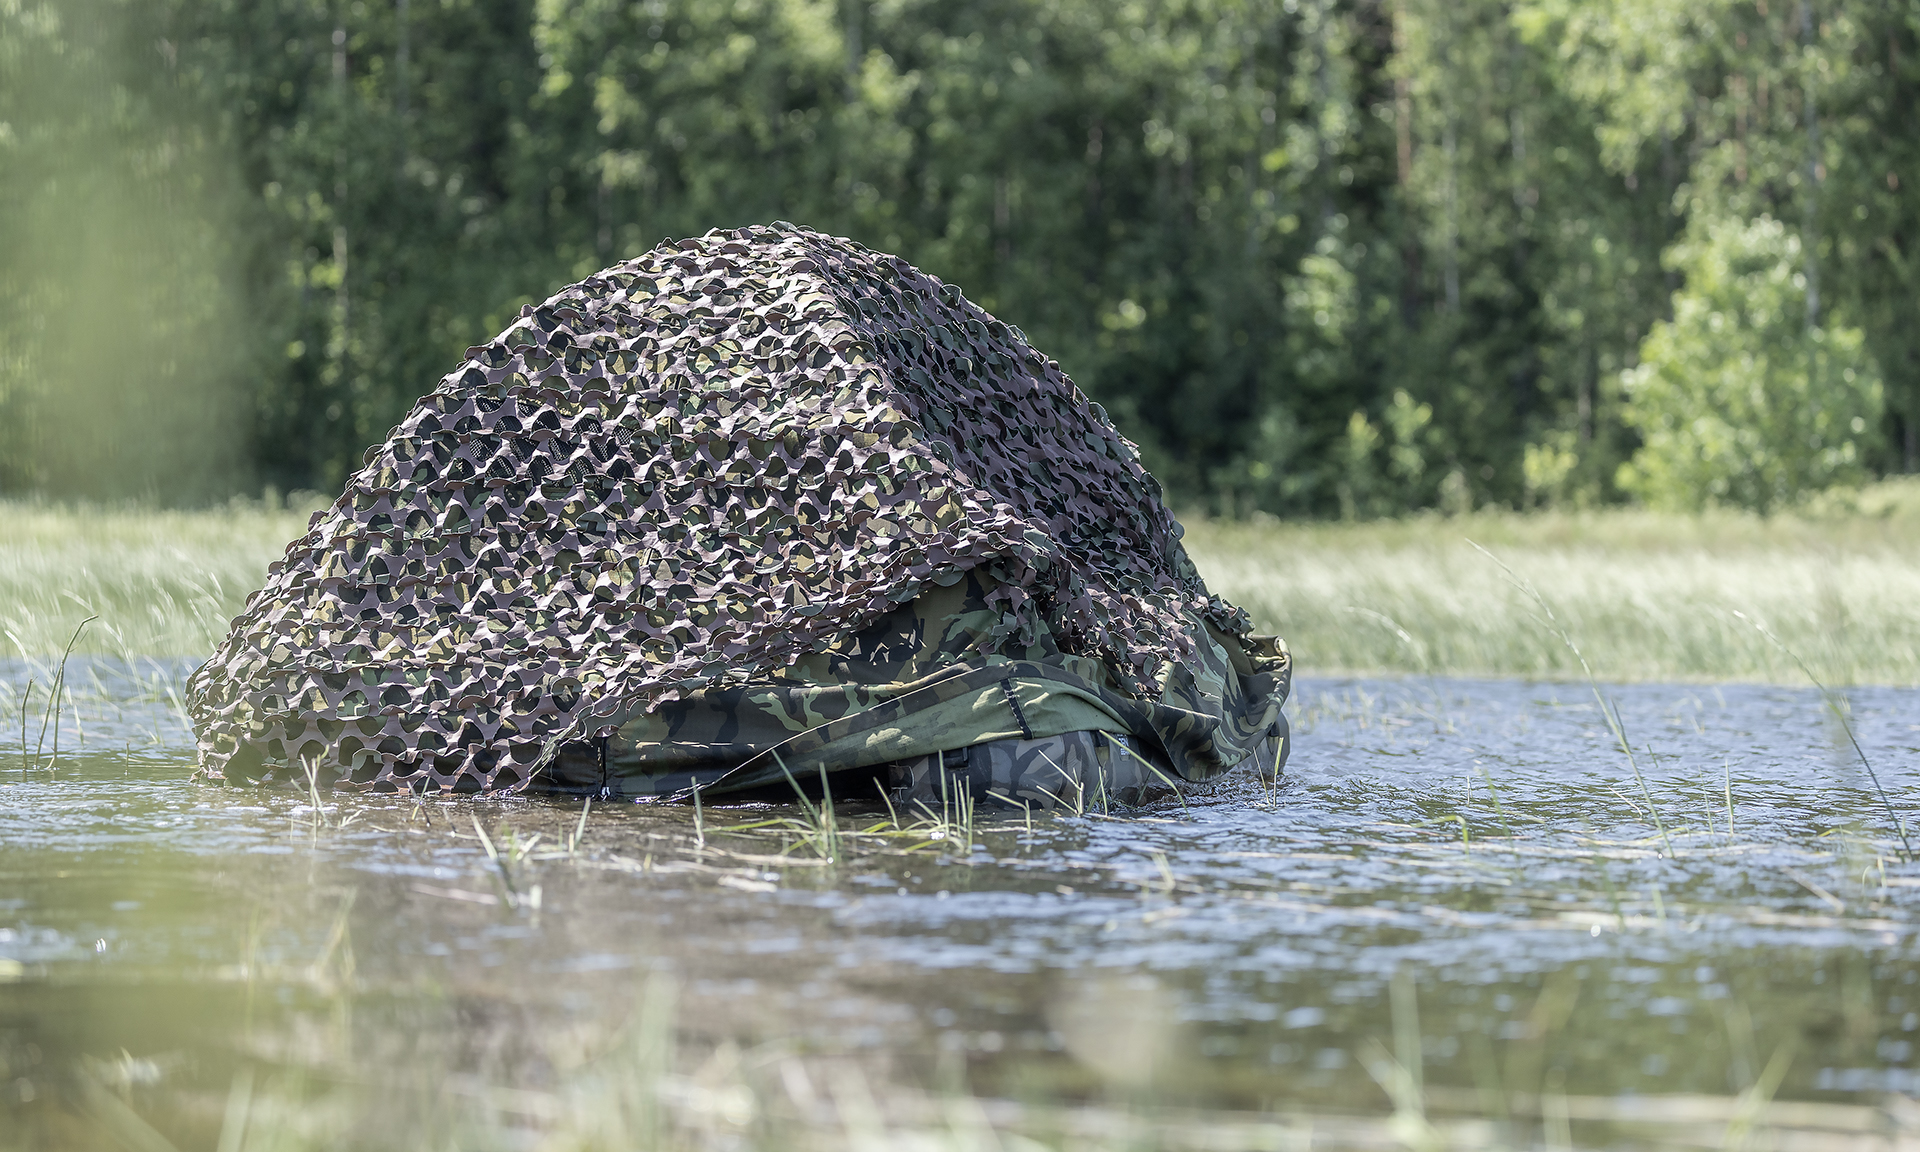
To prepare the floating hide for use, air is pumped into it, and the tent is attached to the float. Once equipped, the hide is ready to be carried to the shoreline. It’s a good idea to scout a suitable spot in advance so you don’t have to carry the hide unnecessarily — even though it’s light. The location should also be chosen so that photographing from the hide doesn’t disturb people or animals — for example, bird nesting must be taken into account.
Once the hide is at the water’s edge, securely attach the camera to the specially designed mounting plate. Also make sure that the camera’s quick release plate is securely attached to the camera – operating in water is more challenging, so it’s smart to think through and adjust settings for the conditions beforehand on dry land. When everything is ready, slip into the hide, zip it up behind you, and set off.
Mind your step
You can remain still in the hide and wait for birds to approach — they typically ignore the hide and may come surprisingly close. You can also slowly move around to find the best angles. One advantage of a floating hide compared to fixed hides is that you can freely turn from front light to backlight depending on the situation. The floats have handles to hold onto while moving the hide. Move slowly and calmly, as there may be unexpected drop-offs in the bottom, and it’s unpleasant if the ground suddenly disappears beneath you. You can also swim short distances with the hide, but doing so in Crocs can be tiring. Instead of Crocs, you can wear fins, which are better for swimming but harder to walk in.
Safety first
If there’s more than one hide in use, keep enough distance between them — they’re not meant for bumper-hide games. If you’re floating alone, be extra cautious and let someone know where you’re going. In such cases, it’s best to stay close to shore, and in winter, you also need to pay attention to things like drifting ice. On windy days, the wind can catch the floating hide, so wind conditions should always be considered.
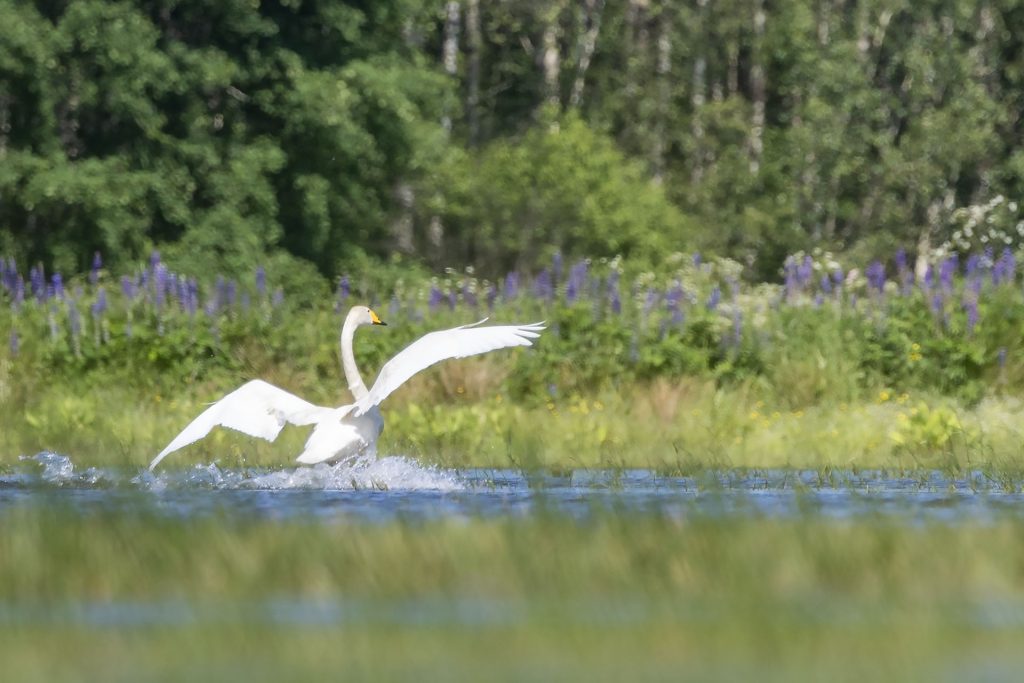
Enjoy a Whole New Perspective
A floating hide allows for amazing angles and lets you photograph birds up close without disturbing them. And in summer heat, floating is delightfully refreshing!